
Print Help
Print Help Basics
If you’re relatively new to printing, here’s some basic print help to get you started.
You’re not necessarily limited to any particular size. We print on larger sheets – for eg, with small format prints, usually an oversized A3 sheet (SRA3) – and we trim it down to virtually any size. So the choice is yours. Pick any dimensions you want – as long as it has straight edges and isn’t much smaller than a business card.
Or if you’d prefer to go with some more common options, here’s a summary of ‘A’ series paper sizes.
For small format or General Printing
A3 – 420mm x 297mm
A4 – 297mm x 210mm
A5 – 210mm x 148.5mm
A6 – 148.5mm x 105mm
A7 – 105mm x 75mm, and so on.
Then there’s DL – 210mm x 99mm
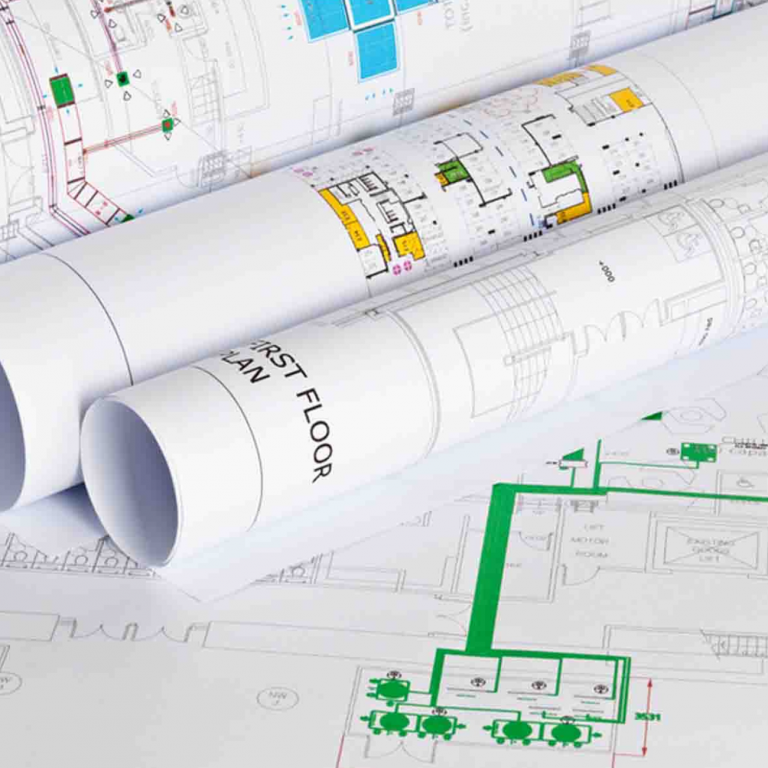
For Large Format prints
A0 – 1189mm x 841mm
A1 – 841mm x 594mm
A2 – 594mm x 420mm
Like other print jobs, business cards are available in virtually any size you want. Because we ‘gang’ them up and print on larger, over-sized A3 sheets, we can cut them down to just about any size and dimension you want.
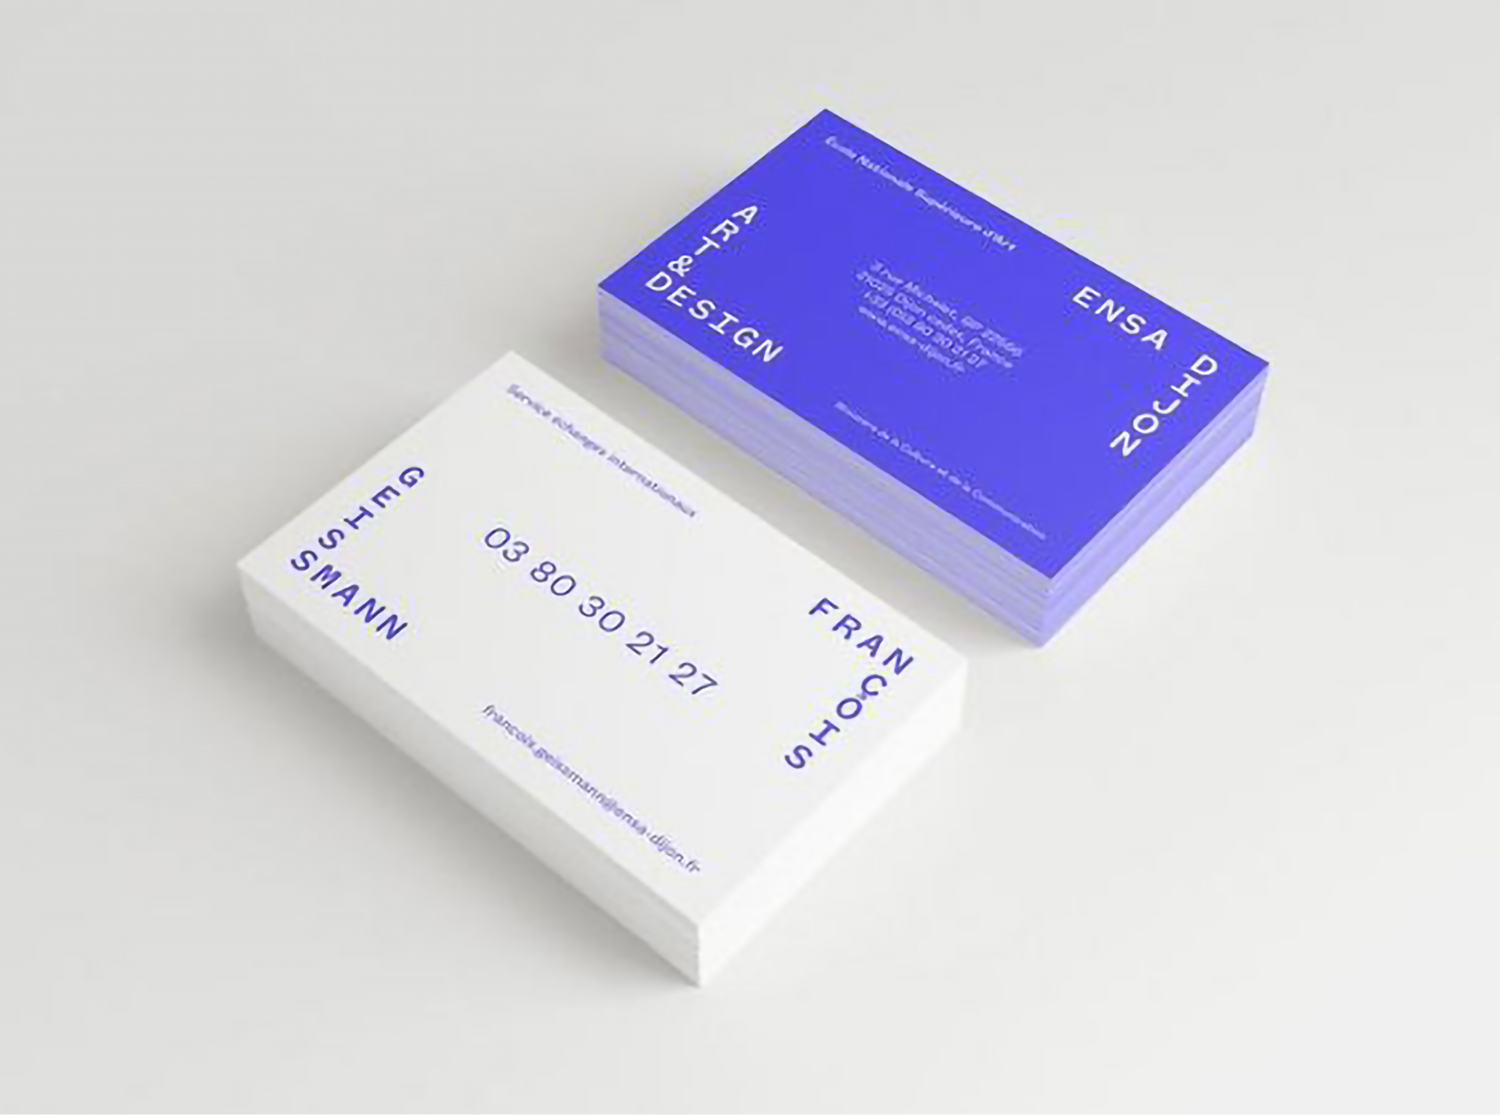
Here’s a shortlist of the most common sizes;
90mm x 55mm – by far the most common
90mm x 50mm
90mm x 45mm
90mm x 40mm
86mm x 54mm
Dinkums stock a wide range of papers for just about every application in a range of finishes, such as matt, silk or satin and gloss. Speciality papers for special jobs are also available.
Paper weights are measured by ‘gsm‘, which means ‘grams per square metre‘. It’s important to note that it doesn’t necessarily relate to the thickness of the paper, although most of the time that is the case. However, some bulky papers can be relatively lightweight, so you shouldn’t always equate weight to thickness.
General Printing
80gsm, 100gsm – lightweight, commonly used for office stationery, copying or basic document printing.
120gsm, 150gsm – light to midweight, popular for book content or other higher-quality prints, flyers, leaflets
200gsm, 250gsm, 300gsm – mid to heavyweight for booklet covers, postcards, brochures
350gsm – heavyweight paper for postcards and business cards
Matt paper is available across all of the weights, while silk and gloss are available from 150gsm up.
Large Format Printing
80gsm – Bond paper for plan prints and other basic, shortlife prints
160gsm, coated matt – A versatile midweight paper, ideal for a range of jobs including posters. Can be laminated for more durability.
210/260gsm, coated matt, satin and gloss – Photographic quality, heavyweight paper ideal for fine art or other high res applications.
Specialty
We stock a range of specialty paper for general printing;
Recycled Envirocare – 100gsm, 135gsm 300gsm
Textured, fine art papers – 270gsm Rives Tradition, the Knight Smooth Range.
And for special large format jobs;
– Phototex removable self-adhesive paper for various wall prints
– Artist grade canvas for high-quality wall art
– Polypropylene for pull up banners and other specific applications
– Backlit film for light boxes
And more. Ask us if you need something different.
Envelopes are generally designed to hold certain standard sized print documents, for example, C4 envelopes for A4 letters. Here’s a summary of commonly used sizes.
DL – 110(H) mm x 220(W) mm. For folded letters & flyers.
DLX – 120mm x 235mm. For slightly larger letters & flyers
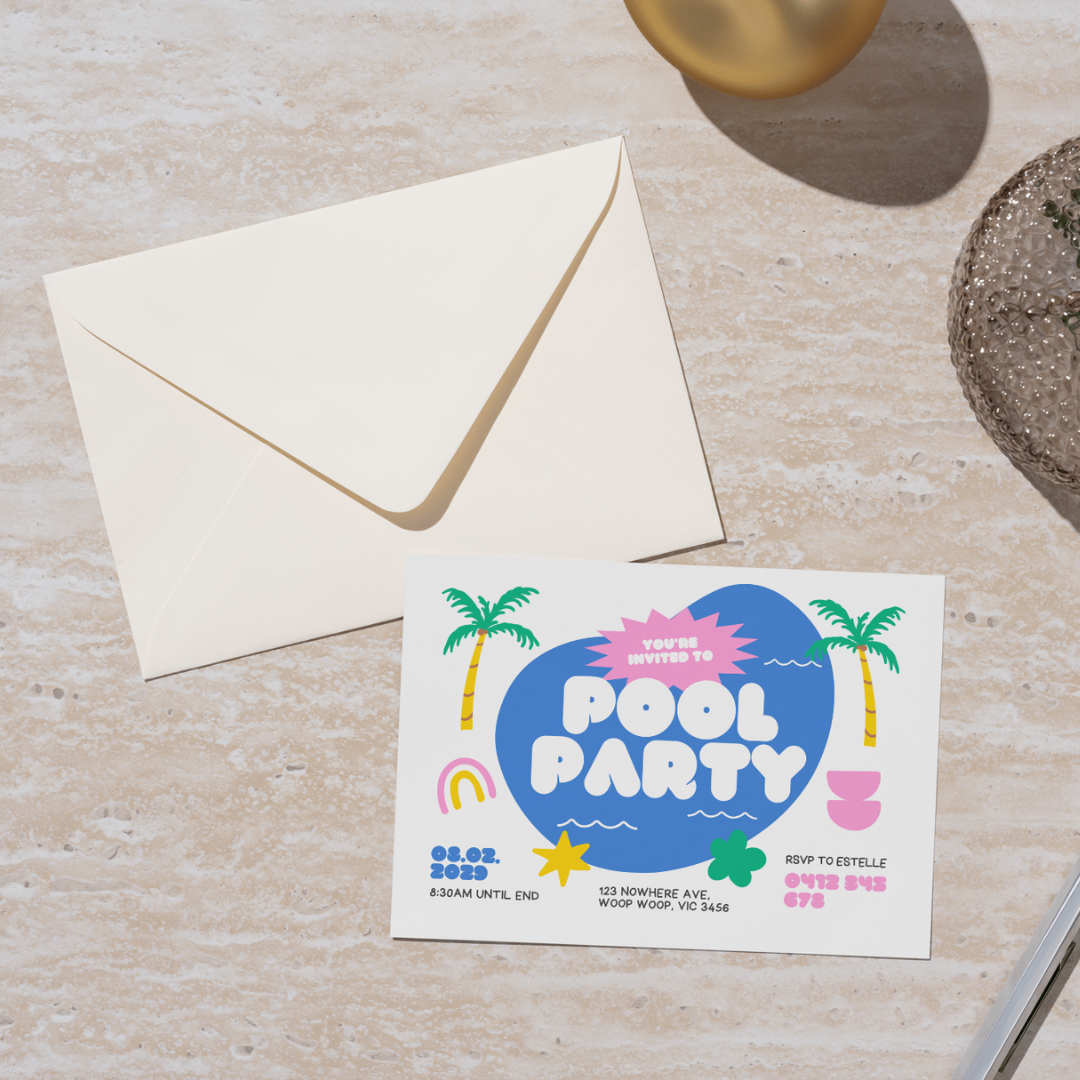
C6 – 114mm x 162mm. For A6 prints such as postcards or invitations.
C5 – 162mm x 229mm. For A5 prints or folded A4 documents or brochures.
C4 – 229mm x 324mm. For A4 prints or folded A3 documents or brochures.
C3 – 324mm x 458mm. For A3 or larger folded documents.
In short, ink is liquid and toner is powder.
Ink is used in inkjet printers and can be either dye-based or pigment-based, depending on the printer type. Inkjet printers penetrate the paper with shots of liquid ink and it’s generally accepted that the quality of a print is better with this process. Also, many inkjet printers come with a larger number and wider range of cartridges colours, which further improves the resolution and overall quality of the print. Inkjet printers are generally used where premium print quality is required. it’s usually a more expensive option than toner in small format printing.
Mirrabook uses only inkjet printers for our large format range for both in and outdoor use.
Toner is a dry powdery substance that comes in the 4 CMYK colours – cyan, magenta, yellow and black. A combination of the 4 colours of toner particles are melted by a heated fuser in the printer and are then bonded to the paper. The quality of toner-based prints has improved significantly over the years to a point where it can be difficult to tell the difference with an inkjet print.
Mirrabook use toner-based printed for a large range of print products for both small and high volumes.
File Set Up
Below is a summary of tips that will save you time and give you the best print outcome.
All print ready artwork must be created with CMYK (Cyan, Magenta, Yellow and Black) colour settings.
With CMYK, a printer creates images by combining the CMYK colors to varying degrees with physical ink. This is known as subtractive mixing. All colours start as blank white, and each layer of ink reduces the initial brightness to create the preferred color. When all colours are mixed together, they create pure black.
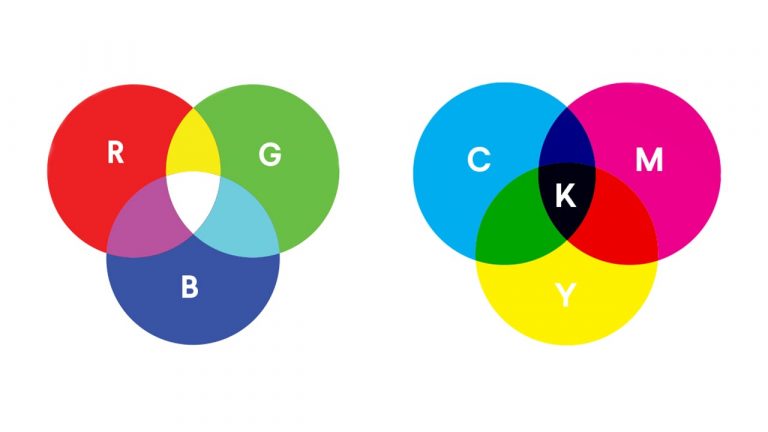
Do not use RGB (Red, Green and Blue) which is the colour setting for digital images on screens or monitors. RGB should never be used for printed material as it won’t accurately reflect your colour preferences.
Our printing software can only process PDF files – which stands for “portable document format“. Essentially, the format is used when you need to save files that cannot be modified but still need to be easily shared and printed.
Please be sure to submit only PDF files for print jobs.
Adobe offers a few options on its Creative Suite software package. Here’s some basic information to help you choose the right one for your project.
Photoshop
– Good for handling images and photos, adding special effects and adjusting colour
– Not good for dealing with text, vectors and layout.
Illustrator
– Good for creating logo, icons and vector based artworks
– Good for layout single page flyer/business cards
InDesign
– Use for books / flyers / business cards
– Good for combining elements from pdf, illustrator and photoshop to create the final artwork.
Where background images need to go to the edge of your print, the files need to be set up with bleed – that is, where the background image ‘bleeds’ off the normal area of the artwork.
As printers don’t print to the edge of sheets, prints are done on slightly larger sheets and then cut down to size. (We print most of our jobs on ‘SRA3’ sheets, which is slightly larger than A3 size).
As it’s virtually impossible to accurately cut along the edge of a design without going beyond the image and exposing the white of the paper, bleed is added providing an area that is cut into in the trimming process.
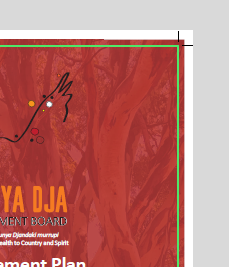
The green outline on the image on the left represents the final size of the print, while the ‘bleed’ area beyond that should be at least 3mm.
Bleed can be easily added on most design software programs, like Adobe InDesign.
Some designers, who are new to preparing artwork for CMYK, often make the mistake of setting the CMY (cyan, magenta, yellow) values at 0%, and the K (black) value at 100%.
For a rich black, we suggest you use C60, M40, Y40, K100.
Booklet File Set Up
Setting up a booklet file is similar to setting up any other page print document, but it’s important to consider a couple of key points.
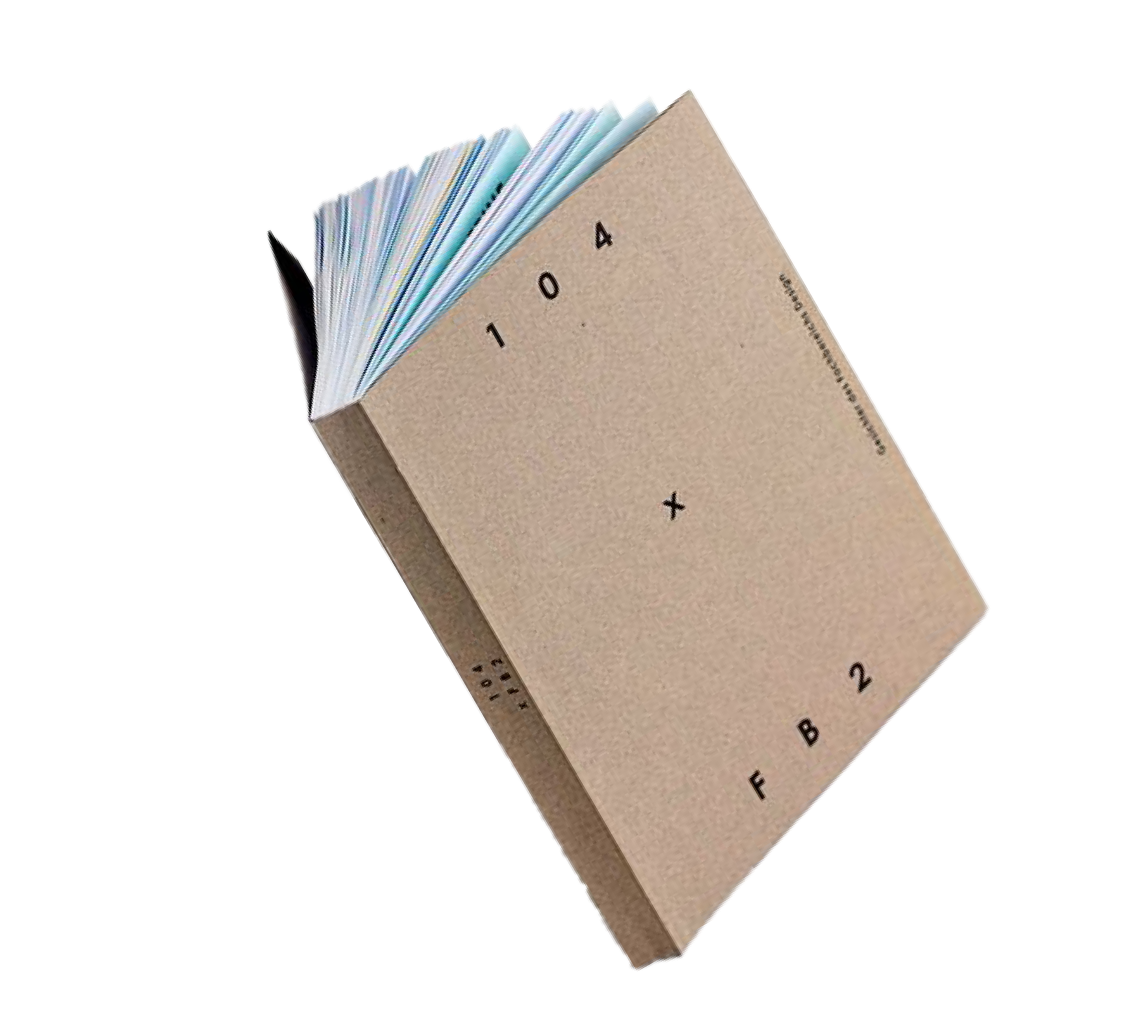
Saddle Stitched books consist of a series of spreads that are folding and stapled on the spine area.
– Artwork should be provided for the cover and the content in 1 file.
– The artwork, including the cover, should be set up as separate, individual pages to the final size with 5mm of bleed and crop marks. Our printer software will set up the artwork to print as a booklet.
– Especially for thicker saddle stitched books, be sure to keep pages number and other content at least 10mm from the edges. The actual position of the page numbers is prone to shifting as the book becomes thicker.
– Ensure your text and images are at least 10mm from the spine area.
– As there are effectively 4 (book) pages on each sheet or spread, the total page number of the book needs to be a multiple of four.
– Save and send your file as a PDF.
Perfect bound books have a one-piece cover that wraps around the content.
– Artwork should be provided in 2 files. One for the cover at the full size (for eg, an A4 book would require an A3 cover – plus the spine) with both the front and back – or inside cover – artwork, and the other for the content.
– The cover needs to include a spine area that accommodates the total thickness of the contact pages. Unless the book is quite thick, avoid text on the spine as it may not line up exactly in the centre.
– The overall thickness of the content pages needs to be around 4-5mm for a perfect bound book or 40 pages. If it’s less, the pages may not hold in the glue.
– The content should be supplied as separate pages, to the final size with 5mm of bleed and crop marks. The first page of the content is page 3 of the book.
– Approx 3-4mm of the content pages will be in the spine gutter. Ensure your text and images are at least 10mm from the spine area.
– Save and send your file as a PDF.
Hard Cover books have a one-piece cover that wraps around the content.
– Artwork should be provided in 2 files. One for the cover at the full size, including the spine area) and the other for the content.
– The cover artwork needs to include a spine area that accommodates the total thickness of the contact pages as well as additional bleed so the print can wrap around the hard cover board, to the inside. Refer to the Hard Cover book page for cover templates
– The content should be supplied as separate pages, to the final size with 5mm of bleed and crop marks. The first page of the content is page 3 of the book.
– The overall thickness of the content pages needs to be around 5mm for a hard cover book. If it’s less, the pages may not hold in the glue.
– Approx 3-4mm of the content pages will be in the spine gutter. Ensure your text and images are at least 10mm from the spine area.
– Save and send your file as a PDF.
Wire or plastic-comb bound books have holes punched in the spine area for the binding to be applied.
– Artwork should be provided for the cover and the content in 1 file.
– The artwork, including the cover, should be set up as separate, individual pages to the final size with 5mm of bleed and crop marks. Our printer software will set up the artwork to print as a booklet.
– Ensure your text and images are at least 15mm from the spine area to avoid being too close to the holes.
– Save and send your file as a PDF.
Working with Mirrabook
Here’s some other information about how we operate that may be helpful. We look forward to working with you
WIP
Sure can. We use a combination of local couriers, Australia Post. interstate freight and a few other delivery options.
We simply pass on the charges from those providers to ensure we keep your overall cost down.
In Store – We take cash, all credit cards and Afterpay
Online Store – Payments can be made by credit card
On Account – if you’re an account customer, we can invoice you for payment later.
If you’re a business and intend to have regular printing done, then feel free to contact us if you’re interested in opening an account with payment terms.
Our standard terms are 7 days.